My first restoration project was an old Zhang Fei lion head that belonged to my kung fu club.
It was about 20 years old, well made, old school and utterly destroyed.
It went through a lot in its day. Being one of two lion heads that was owned by the school at the time, it was used constantly in all of the club’s performances every year.
And every year, after being belted in its performances and thrust into exploding firecrackers the lion, was quickly and poorly patched up with medical tape and painted over with what appears to be house paint.
There aren’t many pictures of the lion in its original state but with each successive year, you can see the “added patch and paint jobs”
Here is the only clip I have of the lion in close to its original state
http://www.youtube.com/watch?v=3AXNnTxxxGc&feature=plcp&context=C3857ea8UDOEgsToPDskIbPsqrgg0TqnY_imue_nk-
Here are a few of the pictures
circa 1992

Circa 1993. As you can see, after one year, there are already huge changes. The top lip is now pink, the cheeks are now white, the tongue is red and pin k has been added to the eyes.

Circa 1996 The bit above the nose has turned into a bird motif and the top lip is now red.
The lion is starting to take on a more squashed appearance

By the time I joined the club, the lion’s internal bamboo structure was all but broken and the weight of all the added medical tape turned the lion into a squashed mess. So it was hung up on the wall unused for a few years.
When my Sifu retired, we did a big clean out of the training hall and the medical clinic and one of the first things that was going to be thrown out was this old lion head.
Luckily, my senior decided to save the head in the hope of restoring it. Unfortunately, the tail had so many burnt holes and loose threads in it that it had to be thrown away.
This is what we had to work with


The head wasn’t even attached to the base at certain points!!

My SiJe enlisted my help with the project and gathered a few extra bits which we needed – new bristle fur, new pom poms, rabbit pelts, mirrors and of course bamboo strips.
In the initial stages, we didn’t know what was install for us. I decided to take up the project thinking it would be a fun exercise and to help restore a little bit of my clubs history, especially with my sifu retiring. I had never worked with lion heads let alone binding bamboo pieces together or how a normal lion head structure should look like.
An inside view of the mess

It was mixed feeling when we started to strip the lion head of its old paper mached skin. It felt good pulling off layers and layers of medical tape. But when we finally got to the frame, the amount of damage to the bamboo frame was overwhelming. Almost every piece of bamboo in that lion head was broken somewhere down the line and most joints were loose.
Nothing was where it was supposed to be!


By this stage, I thought it was probably better to start from scratch. Rather than remove each bamboo strip and replacing it with a new one.
Nonetheless we pushed on. The first trouble we had was working out how to bind the joints together. We tried using twine tied using knots but that failed as the binding was either too loose or the knots started coming undone. Then we tried using twine dipped in PVC glue which didn’t work followed by twine with the ends tacked on with a hot glue gun which …. Didn’t work either. We did end up tying most of the simple joints with twine knotted together as a temporary measure.
Early stages. You can see the ends of our string which was used to tie the joints together

After a while, our progress grounded to a halt and we stopped working on the project for a while as neither could work out how to proceed with tying the joints together.
One day, I decided to take the frame home with me and while watching tv, I started playing with thin metal wire which I used initially to tie the base of the frame to the rest of the structure. I found that the wire was quite easy to work with and could make a tight joint.
From that point, I went back to all the joints and retied them all.
There was a minor delay in progress towards the end of fixing up the frame. I thought that the head was still a bit squashed ( I felt it was leaning too far forward with the top lip of the mouth too horizontal (like a hok san mouth) so I undid a fair bit of the bindings to readjust the bamboo strips that were connected to the base to prop up the front of the head a bit more.
And the rest of the lion ‘s frame is history. It sat there for a while as I moved away for uni.
The metal wire joints

A close up of the mouth and top lip. Notice how it’s quite low lying (almost like a hok san mouth). I ended up having to prop it up to get the angles better.

When summer holidays came, I finally had the time to complete it.

(note: I got eager and ahead of myself and paper mached the mouth first)

my wire handiwork
I wanted to keep some of the features of the old head intact to remind us of the history of the lion, so I left the horn and eyes intact in their original state. The horn’s paper mache is still its original and what fur remained from the original I left on ( complete with old firecracker paper stuck in it).

Padding for head players head
I’m glad the papering didn’t work initially because as I was sticking on the mosquito netting, I realised that it would be impossible to attach the padding for the head player without having to pierce through the paper mache if that was already done.
So at this stage, I sewed on the padding to the bamboo frame before continuing on with the papering.


Paper mache stage.
I had a look at a few lion heads that were lying around the club to see how they paper mached on their head and most of them had a layer of paper followed by gauze and then more paper. I tried this initially but found that without a proper base to stick on, the paper would just fall off. After chatting to a friend who was also restoring a lion head, he found that the paper stuck on best if you hot glued on some mosquito netting to the frame first to give the paper something to stick to.


Papering
After reading through the liondancing.org, it was clear best papering technique was to tear the paper and stick on. I used old calligraphy paper that my mum didn’t want.
A young me working on the paper


 Note the bottle of craft glue. I started using that but didn’t like the shiney, rubbery texture you get when it dries out. I ended up using a blend of water, flour, corn flour

Multi tasking. I used the old eyelids as a template for my new ones.
You can also see a faint blending of new paper mache with the old on the fins.


Painting stages
I wanted to be true to the original lion head by painting it in its original colours.
Unfortunately, I had one photo of the lion it its original state and that was part of a big class photo before one of the new years performance and a 10 second video clip of it that showed a lot of blur but you could see the incredible paint job that it had.
Apart from those two images, all I had was lots of photos of a patched up lion head with a dodgy paint job that made the lion look like a native warrior.
So I did a bit of searching and found a couple of pictures of lions that look somewhat like an old school zhang fei head and copied a couple of the basic designs off of it.
I painted the mouth first as it was a much smaller part and easier to work with. I figured if I made mistakes it could easily be fixed. In the end, I didn’t like the shade of gray so I repainted the gray areas much darker

And the painting begins!


The darker shade of gray that I used

My rough sketchwork


I decided to add the two carp to the top of the brows toward the end. Carp have always been renowned in Chinese culture for their wonderful colours and resilient nature. The word for “fish” sounds similar to abundance and is often used to denote lots of wealth.
There was also a story about carp swimming up river and if they can jump through the dragon gate, they turn into mystical chinese dragons.
The fur
Again true to the original, my senior bought a set of black bristle fur and a pelt of black rabbit fur which I attached on to get it that step closer to the final product
The mirror and pom poms
I was very impressed with the pom poms my senior got! They were A grade top stuff!!, Very full and great colours, they match the lion well with the black, white and blue accents.

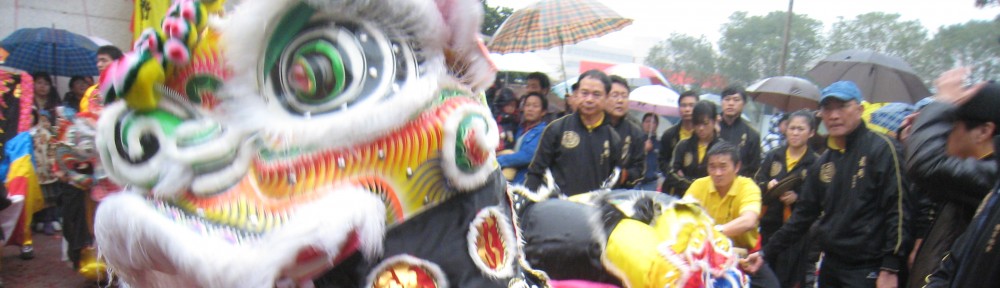
And…… the final product! I’ve done it, almost 2 years later 


Hopefully, the next set of photos I post up will be this bad boy in action!!!
