Its been a while since my last post and a lot has happened since then!
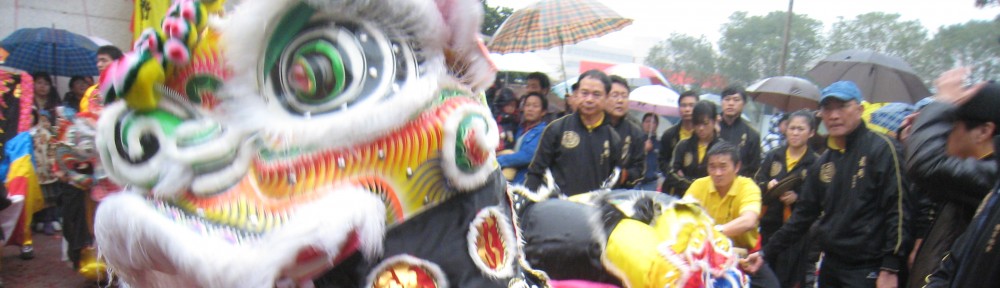
It has been getting really exciting for me now especially as the lion is starting to look like the finished product and I have been stretching my brain and resources to try to tie up the rest of the ends together. It’s funny that I say that because so far, only half the work has been done and the next few steps will be the uphill battle.
The next few steps that I need to do have all gone on simultaneously.
These include –
1. sketching out the design of the lion and getting the patterns right
2. getting the paint and the colours right to start painting
3. getting all the other bits that complete the lion- the fur, the pom poms, the eyes, the beard, the tail


