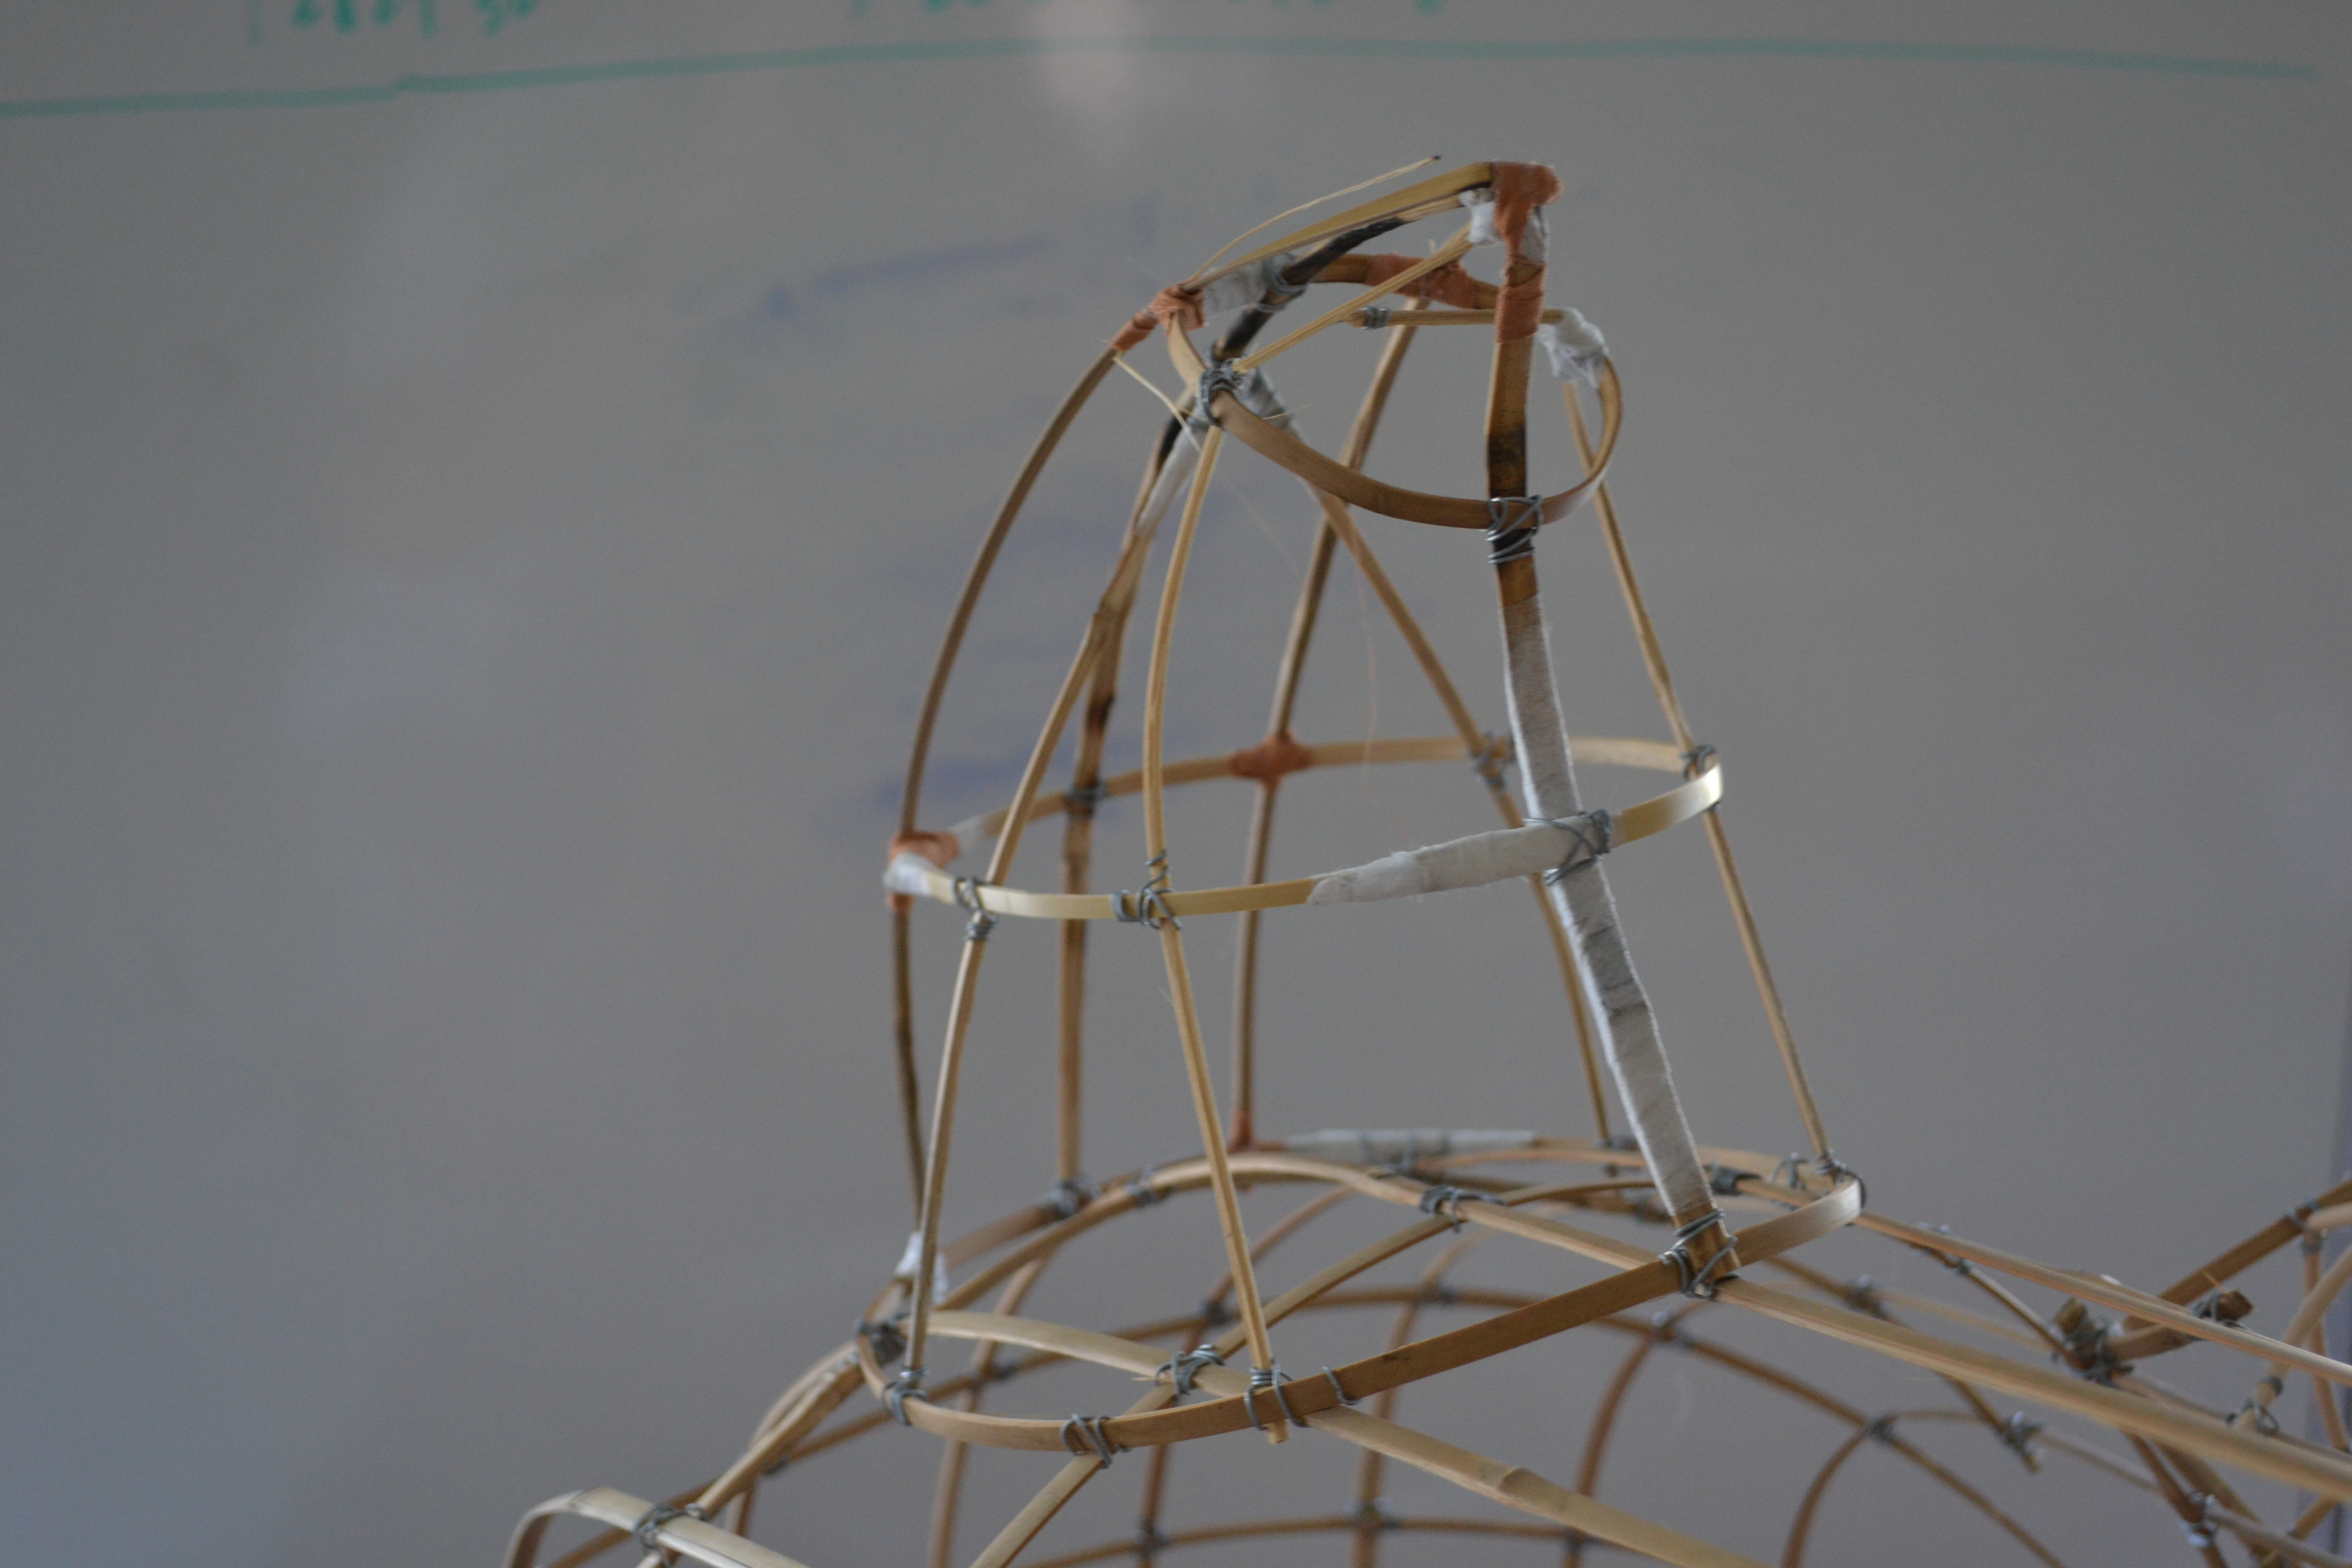
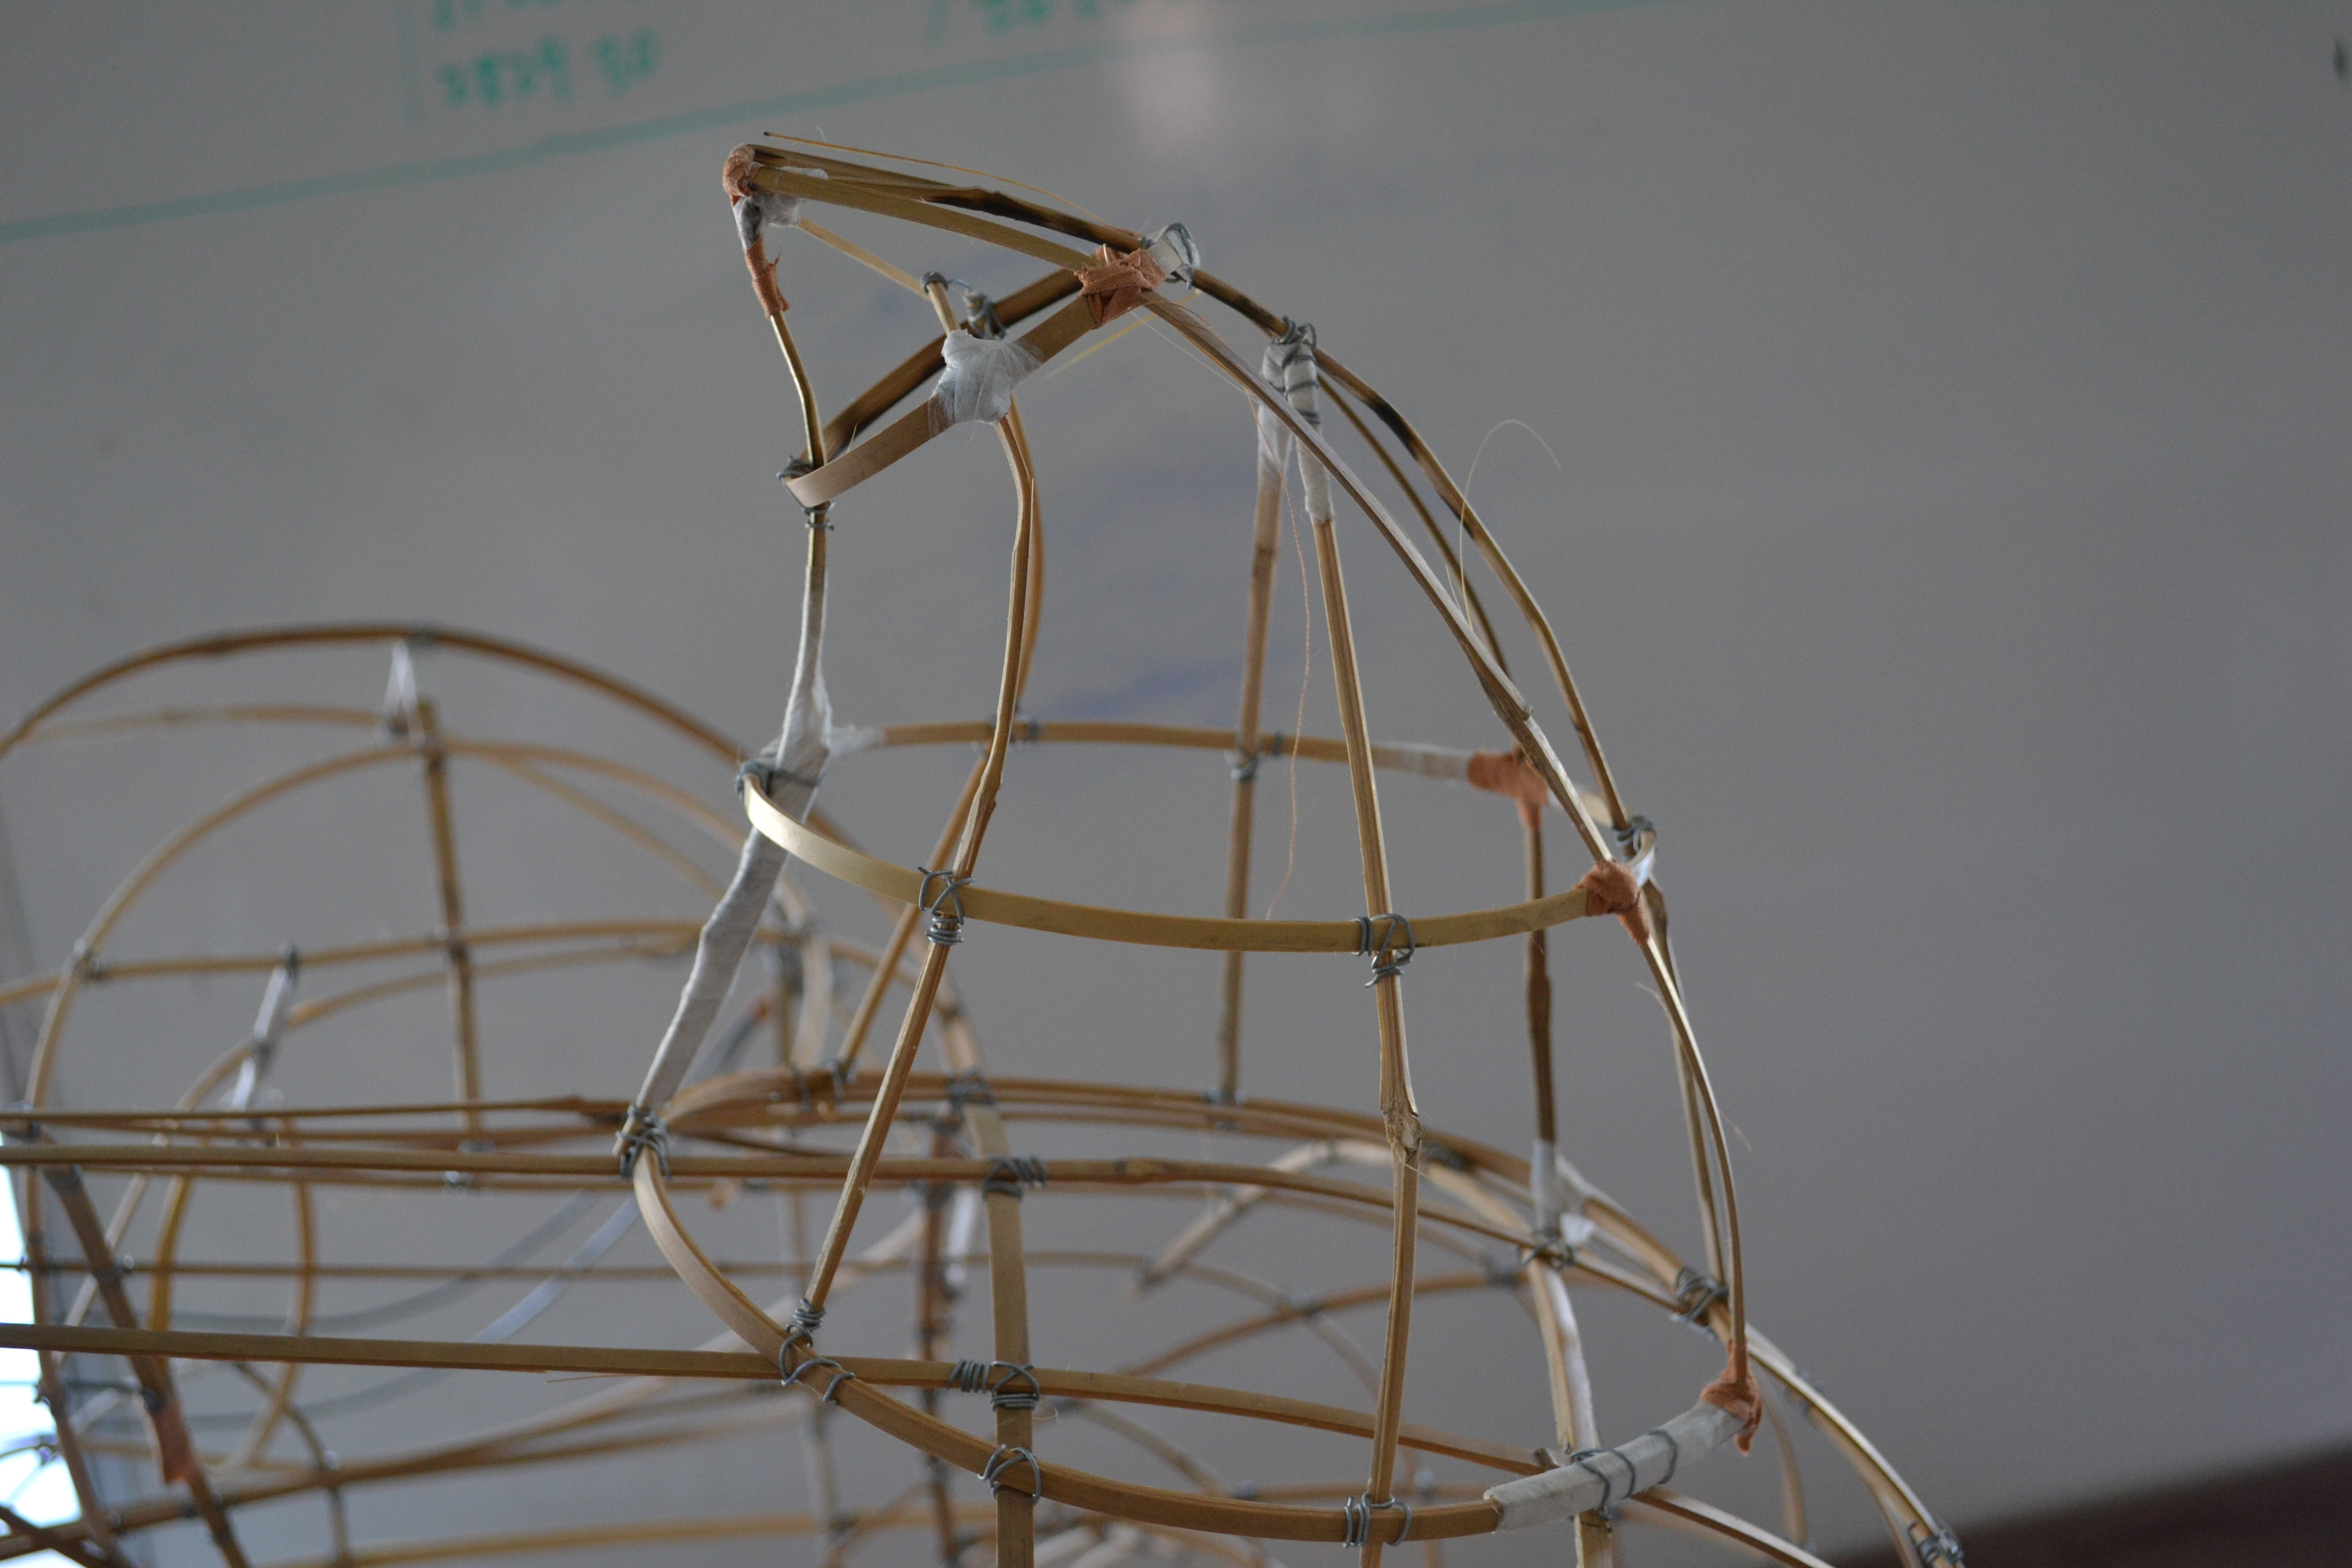
I had trouble with working out the framework for the horn. I essentially guessed what I could imagine it to be and tried to at least copy the dimensions of the original. This is the result.
The Horn
Reply
I had trouble with working out the framework for the horn. I essentially guessed what I could imagine it to be and tried to at least copy the dimensions of the original. This is the result.
It’s been a long while since my last post.
I’ve moved houses and gone bush for a work stint hence the delay.
I’ve come home for the weekend and managed to work on the eyelids and stick on the rabbit fur. The thickness of the rabbit fur is different in the various areas of the lion. I wanted it to be as sparse as possible to give the lion’s furry bit an uneven almost unclean look. At the back of my mind as I was gluing it on was a scene early on in Jet Li’s Once Upon a Time in China part 3 when Wong Fei Hung’s father grabs a hold of one of his student’s brushes and gives him a tip on how to paint the lion heads face. His main message was along the lines of the strokes shouldn’t be too clean because no face is ever perfect or even.


It’s done!!! I wish I could say I painted it all on my own but alas, it’s was all Zoe’s brilliance and hard work which has gotten us to this point!!!! What a relief to finally get the painting done and I must admit, I’m a very happy man.
To start off with, here is a picture of my lounge room which I doubled as my workshop. One corner ceiling was converted to display my completed items. Just a little bit of motivation to keep me going every time I sat down to watch TV….. ……..I would plonk myself on the couch and call out “Zoe, you haven’t finished painting the lion” before proceeding to relax and watch TV while supervising Zoe =D  Here is Zoe hard at work putting on the final touches
You can just make out the bottom of my little TV above her head. I took this picture, sitting on the couch. BEST Thanks to the guys on liondancing.org/forum for advising me on the use of varnish. I ended up with a Josonja’s Polyurethane water based gloss varnish and applied 3 coats to give the lion a heck of a glossy look.

And without further adieu, here are some of the photos


This is what the eyes ended up looking like. A combination of the previous two eyes we had earlier.

And …………………………. here he is!!!
BEHOLD!!!


And the lovely Zoe with our painted lion head.
Picasso in the making.

Hope you like the look of it so far
I thought I’d use this post to thank my girlfriend Zoe for volunteering to do the painting.
It’s probably better that she does it because she’s much more of a perfectionist so I know that the lion will come out much better than anything I could have produced.
My little contribution was to sketch on the lion all the patterns and to explain to her what needs to be painted what colours and to orientate her to the various screenshots I have taken. My other little contribution was to paint the ears so I can say that at least I painted a part of the lion myself =D
Check it out


This was my contribution with the painting. I suspect Zoe will repaint it. She thinks I did a rushed job and my lines aren’t clean enough. 

And now back to Zoe’s painting
The left and right eyes are different. She was experimenting with shading and blends


Zoe thought it would be cool to have an aqua nose. 
I got her to change it back to green. 


Keep your eyes peeled for more to come
Ok, so managing to get screenshots of lion head is one thing, translating that into clean lines and a design with definite colours is another.
I managed to work out a fair bit of the design but I had to make up certain bits.
I’m glad that this lion had bristle fur so that I could appreciate the painting.
My sketches on paper


Sketches on the lion


Before I start posting up pictures of the painting process, I thought I’d post a couple of pictures from whence I started to where I am now. So far, it has probably taken me about 18 months of slow, tedious, painstakingly boring work, with many breaks in between followed by very short periods of inspiration and a bit of an ass kicking by my girlfriend to get the job done.


Getting the paint was another interesting story.
I was in the process of getting the same branded paint that I had used for my previous project- water based enamel paint by a brand called Splashes because of the glossy look and the different colours they had on offer. Only problem was that they cost between $9aud- $12aud at the hardware store and for this lion, I would probably need at least 6 different cans for all the colours that I needed to paint.
So at the check out counter, the gentleman ahead of me asks if I was seriously going to buy the paint. I said yes, from which he tells me off saying that I was young and stupid for wasting my money. He then advises me that the best and cheapest way to get paint is to go to the paint section of the hardware store and look for their sample pots of paint.
So I wander over there and low and behold, there are about 100 pots of unwanted paint sitting there on sale a $2 a pot. The only catch is that you have to open every single one of them to check out what colour is lurking beneath which was a fun exercise in itself.
In the end, I bought about 20 pots of paint ranging between 1-2 dollars a pot and ended up ordering a sample pot of yellow for 10 dollars to complete the colour spectrum.
I saved about 50 dollars in the whole process and have an extra 15 pots of paint (which means more colours) that I could use for other projects.
Oh but I should mention, the paint is house paint so it isn’t glossy. I was just going to cover the whole head with a glossy sealer to make it waterproof and get the shiney look.
Moral of the story, GET SAMPLE POTS!!!

The rest of the paint
I’ll preface this post by thanking my kung fu senior Pan for his help in getting me this tail!
Getting the tail was not really the next step on my to-do-list but none-the-less, it was the next step forward in my lion coming together. And it was quite funny how I came to have the tail.
During the last month, I managed to get away from Sydney and travel to Vietnam and Hong Kong.
I knew that Vietnam was the place to get very cheap (pricewise) lion heads and so potentially lion head parts. I ended up wandering around Cholon (in Saigon) and stumbling upon a few lion head shops that sold lions and dragons to…… funnily enough… a couple of the kung fu schools that are running in my area. However, the style of lions that they made were the new fluffy lions with short tails and lots of sequins. Not really what I was after and to top off my dejection and not finding what I wanted that said it would be difficult for them to make a long multicoloured tail due to lack of materials. Everything else they had on offer by way of pom poms and fur was just not available. Not to discredit the lions that they made, but they just didn’t have what I was after.
However, I had plan B….. Hong Kong. I had contacted one of my kung fu seniors in Hong Kong beforehand to see if he could help me get some lion head parts for my lion. He said that if I managed to get a Chinese visa in time, he would take me into Canton to where some of the lion manufacturers are so I could tell them and see for myself what they have on offer. I was so excited about the prospect of seeing for myself some of the pros in action but unfortunately, the cost of making a Chinese visa at such short notice would have cost me a lion head in itself!!!
Again I felt bitterly disappointed and not getting the supplies that I wanted.
That’s when my senior said, oh by the way, I have a tail that I managed to salvage from one of the old lion heads that they were throwing away at the school that I work at. You can look at it and throw it out if you dont want it. It’s tattered and not in the best condition…………………..
This is the tail that he showed me. =D =D =D =D EXACTLY what I was after in such good condition. Almost all the bells are still attached, all the metallic discs are still there, there are no rips in the fabric, the colours are still vibrant, there’s a “sausage” spine the stretches through it.


Another deviation from the plan. I have come across a few lion’s ears which have been damaged through wear and tear over the years especially around the attachments to the head itself and wear the strings are attached. Some of the damage I have come across also involved too much strain on bamboo framing which have ended up snapping. I wanted mine to be a bit more stronger and have seen a couple of ears around made with metal wire used to create the ear shape and two bamboo pieces crossed in the centre to create a 3D body.


In the end, I put another few strips of bamboo around the areas where the hands apply pressure to the mouth for extra strength and support. (no pictures)
After the main frame was complete, it was time to add the wire.
This included functional wires needed for the eyes and the ears to be in place and the wires needed to make the eyelids.
Finally I added the fancy wirework- fangs for the mouth, fins and a spiral piece on the eyebrows.


