I’m finally done and dusted with the Choi Sik Guan Gong lion (rainbow lion). So where to now?
I’ve decided to use this blog to document all my other little projects that I do relating to lion dancing and lion heads and to the lion dancing scene in Sydney (from my miniscule perspective). Just check the My Other Projects tab in the menu for updates.
I’ve got a couple of projects lined up already.
– There’s two more lion heads from the Dragon Style School that have taken a heck of a beating. Outwardly they still look good, but I’ve had a good inspection of them both and they’ll need a fair bit of work. One’s a Liu Bei and the other is a Zhang Fei. They’ll be a good start.
– I’m keen on making a golden/bronze/ orange coloured lion head, not too dissimilar to the Golden lion that Yun Fook Tong used in that 1986 lion king competition.
– I also have another rainbow lion tail sitting around which needs a head to attach itself to so maybe a fresh faced Liu Bei lion head at some point.
– My kung fu Senior in Hong Kong has also been kind enough to save me another battered lion head from a charcoal ending so I can see it out to its former glory. (I don’t know how I’m going to actually fix him especially with the lion being an 8 hour flight away. Maybe I’ll carry him home on my next visit that way).
To kick things off. I’m going to take you back in time to the the old black and white Zhang Fei head that I restored a few years back.
Zoe’s had a look at it and isn’t too impressed with my shaky paint job so she’s decided that she’ll give him a one over to sharpen him up. She’s still in the process of doing so. I’ve also ordered a black and white tail for him and it’s arrived so here is the complete lion minus a second coat of painted love from Zoe.

Front on view of lion. sitting on its new tail

The tail in all its glory

The original neck piece
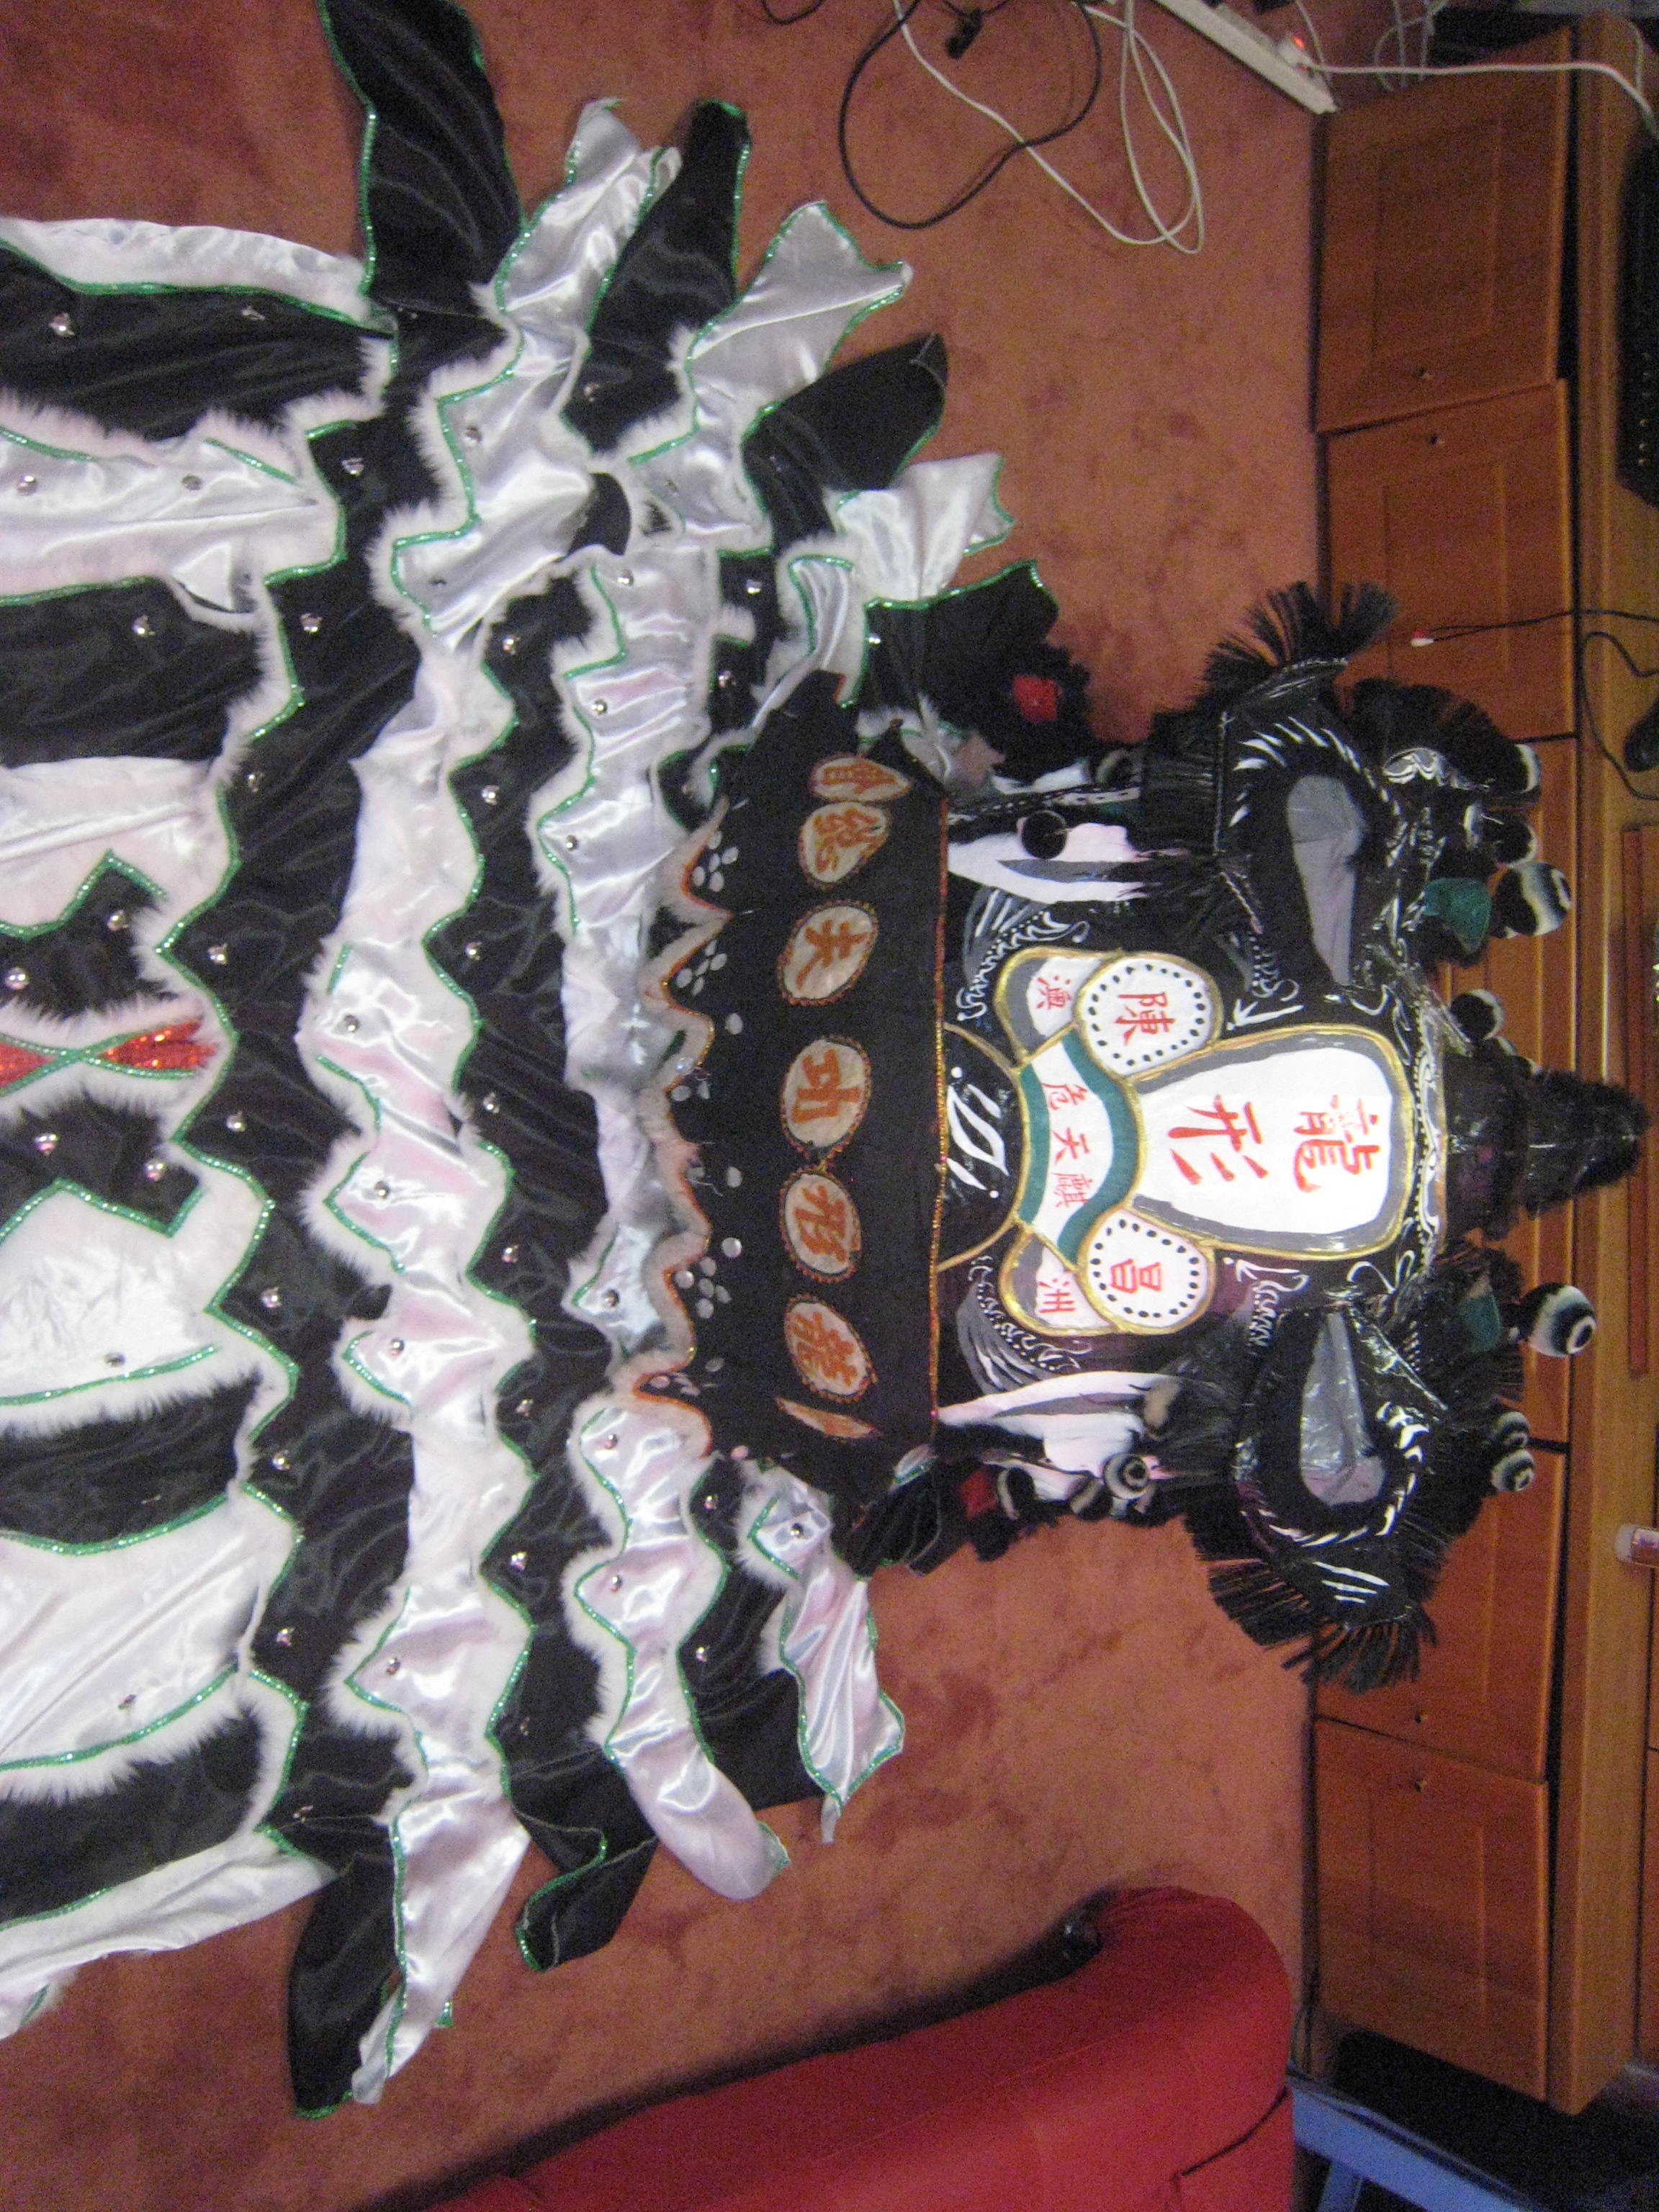
Neck piece reunited with its head and new tail


 H
H


